During the peak of the Coronavirus epidemic during the Spring and Summer of 2020, two of the hardest items to find in stores were rubbing alcohol and hand sanitizer.
Ironically, these are also the two most-needed items to kill germs and stop the spread of the virus. The world simply was not prepared to deal with a pandemic of this scale.
Some believe that the world is in for round #2 as the chilly winter and spring allow the virus to spread even further.
December 2020 saw a huge spike in global COVID-19 cases as well as a new variation of COVID that spreads even faster.
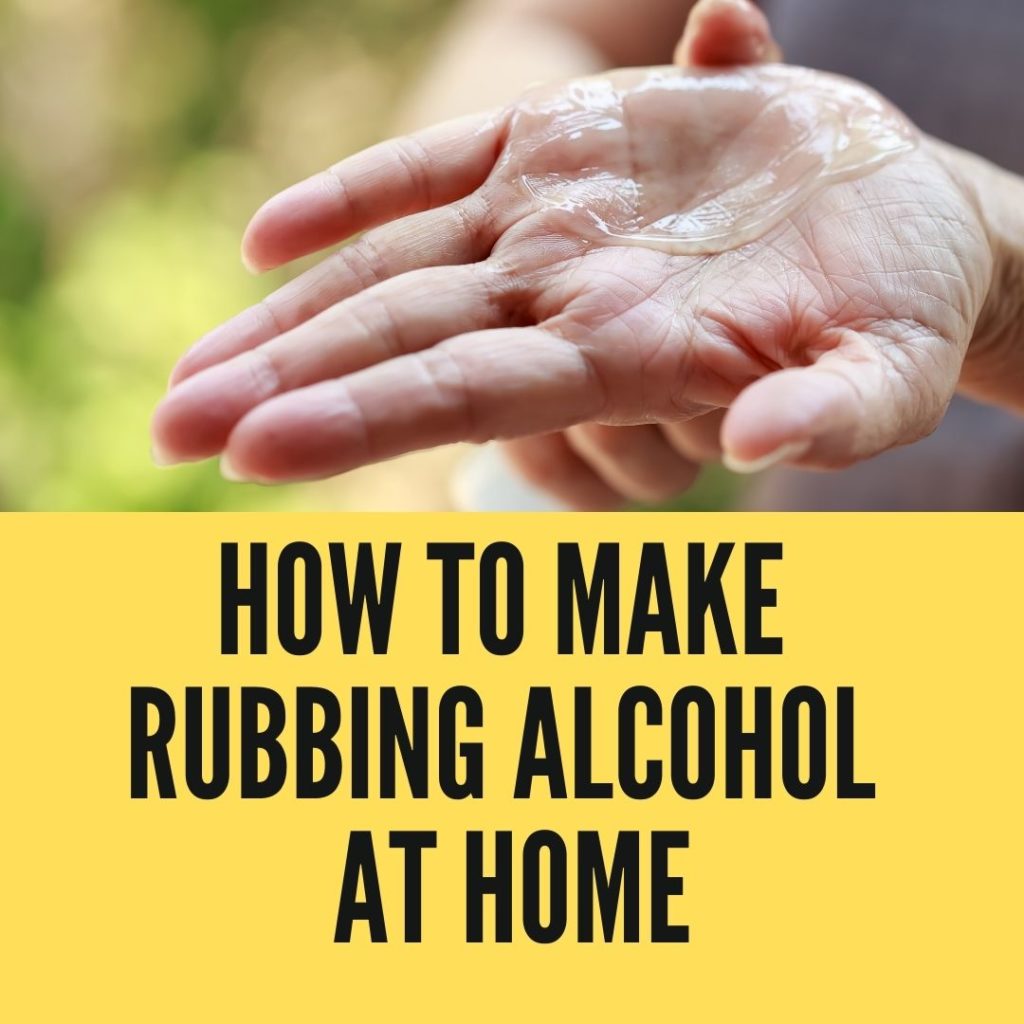
In today’s article, we’re going to show you how to make your own rubbing alcohol at home step-by-step using everyday ingredients such as sugar, water, yeast, and some basic supplies. The next time there’s a global pandemic, you won’t have to worry about how you’ll sanitize!
While it may seem a bit unnecessary, learning how to make your own ethanol alcohol can be a fun and educational process for the whole family.
With kids out of school, they’re relying on parents more than ever to teach them about the world and show them some basic chemistry.
What better way to show your kids how cool science can be?
Making Your Own Ethanol Rubbing Alcohol
The method that we’ll use to make our ethyl rubbing alcohol is very similar to how old-school moonshine is produced.
It uses a simple sugar base, which is then fermented and distilled to produce an alcohol product.
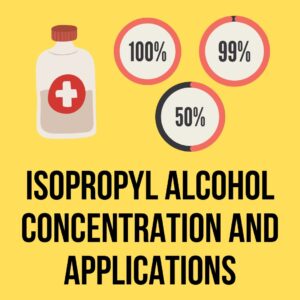
Since we’ll be using simple ingredients and tools, the resulting alcohol should be concentrated around 50%, give or take.
If you let it ferment for longer, it may even become strong enough to kill mold (around 70%).
That being said, without proper still and tools, it’s impossible to measure the potency of the product. You also should not drink the mixture under any circumstances.
How toxic is isopropyl alcohol? Although not toxic in general, Isopropyl alcohol can be toxic if ingested. The effects of ingesting isopropyl alcohol are not always fatal but can result in injury and even coma.
While a little bit won’t kill you, it’s still a semi-toxic alcoholic beverage that can make you very sick.
This recipe is for topical disinfecting use only! Without any further ado, let’s jump right in and make our very own alcohol!
Step 1: Ingredients And Supplies
First, you’ll need some simple ingredients. Most of these can be easily found in your local grocery store and hardware store.
Any ingredients and supplies that you can’t find at the store, you may have to order online.
The total cost of everything should be less than $50. After you source all of the tools, though, you’ll be able to use the same setup to make more batches for a lot cheaper. You’ll only need to buy more sugar and yeast.
Let’s start with the ingredients:
- 2 lbs of sugar
- 1 gallon of distilled water
- 1 jar of yeast (can be bakers’ or brewers’ yeast)
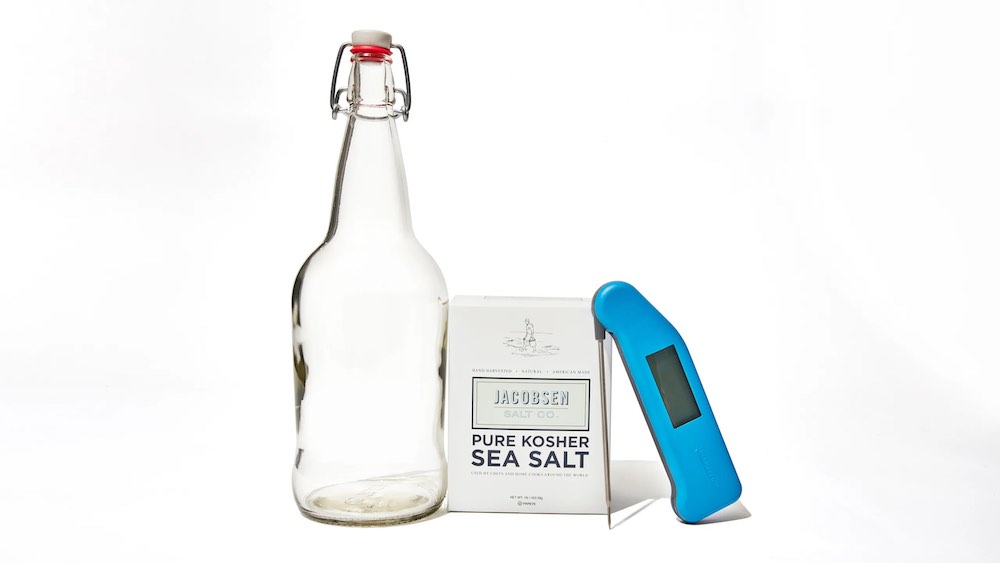
And now for the supplies:
- 2 large gallon-sized glass jugs with lids
- 2-3 feet of copper tubing
- 2 large, wide pots
- 1 food thermometer
- 1 funnel for pouring the ingredients
- Lots of duct tape for creating airtight seals
Step 2: Fermentation
Alright, now that you’ve purchased all of the necessary ingredients and tools, it’s time to pretend you’re back in the Prohibition Era, making stills of illegal rum in the hills! Just kidding, it’s not all that crazy. But hey- it never hurts to have an imagination.
The first step is arguably the easiest. All you have to do is mix the ingredients together and let them sit for two weeks while you kick back and enjoy your quarantine. Easy enough, right?
- Take your large glass jug, fill it up with the 2 pounds of sugar and 3 pounds of yeast.
- In a large pot, heat your gallon of distilled water until it reaches 115-degrees Fahrenheit (use your thermometer).
- Once the water is hot enough, use a funnel to pour it into the same jug as the sugar and yeast. Top it off, but leave a little bit of space at the neck of the jug.
- Now screw your top on, leaving it just a little bit loose so that CO2 gas can escape.
- Set it in a cool, dark place where nobody will mess with it and let it sit for two weeks.
Step 3: Distillation
Two weeks later, let’s hope that you haven’t forgotten about it yet! Now for the most involved part of the process- distillation.
During this process, you’re basically going to evaporate the alcohol from your fermented jug into a fresh jug using your copper tubing.
- Use a drill to put a hole in the top of the fermentation jug’s lid. It should be just wide enough to insert your copper tubing.
- Insert one end of the tubing and use copious amounts of duct tape to create an airtight seal.
- Repeat step #1 with your second large glass jug. Then, place the other end of the copper tube in the top of that jug.
- Put your glass fermentation jug into a wide pot. Fill the pot with water so that the jug is resting in the center of the water-filled pot.
- Place the empty jug (with the other end of the tube in it) into a similar-sized pot. Fill this pot with ice. The temperature difference will speed up the evaporation process.
- Now, put the pot with your fermentation jug on medium-high heat and boil it. As the water boils, the fermented liquid will heat up and begin to evaporate into the copper tubing. It will travel and drip into the empty jug in the ice pot.
- You will probably need to plan on boiling the mixture like this for most of the day. Keep an eye on it and always add more water to the boiling pot as it evaporates.
- Once all of the liquid has transferred from jug #1 to jug #2, then the process is finished!
Here are some other posts that might interest you:
- Can Rubbing Alcohol Kill Mold?
- Will Rubbing Alcohol Remove Acrylic Paint?
- Alternatives To Rubbing Alcohol
- Using Rubbing Alcohol To Clean Leather
- Can Rubbing Alcohol Be Used On Car Paint?
How To Store Your Ethanol Rubbing Alcohol
Once the process is finished, you should have several quarts of your very own ethyl rubbing alcohol.
It might not be quite as strong or effective as the more concentrated, store-bought isopropyl alcohol, but if you’re ever in a bind, it will get the job done and provide an extra layer of security against germs and bacteria.

My name is Logan, and I’m a 36-year-old dad who owns a small pressure-washing company in the suburbs of Atlanta, Georgia. My main goal with rubbing-alcohol.com is to show you how versatile isopropyl rubbing alcohol can be! I hope. You find it useful.
We're an affiliate! We may earn a small commission when you make a purchase from product links at no additional cost to you!