Chances are, your computer keyboard is a lot dirtier than you may think. As any true PC gamer, coder, or internet entrepreneur will tell you- their computer is one of the most contaminated items they own.
From the sugar-filled sodas and energy drinks to the thousands of snacks and quick meals eaten behind the screen, it’s easy to see how.
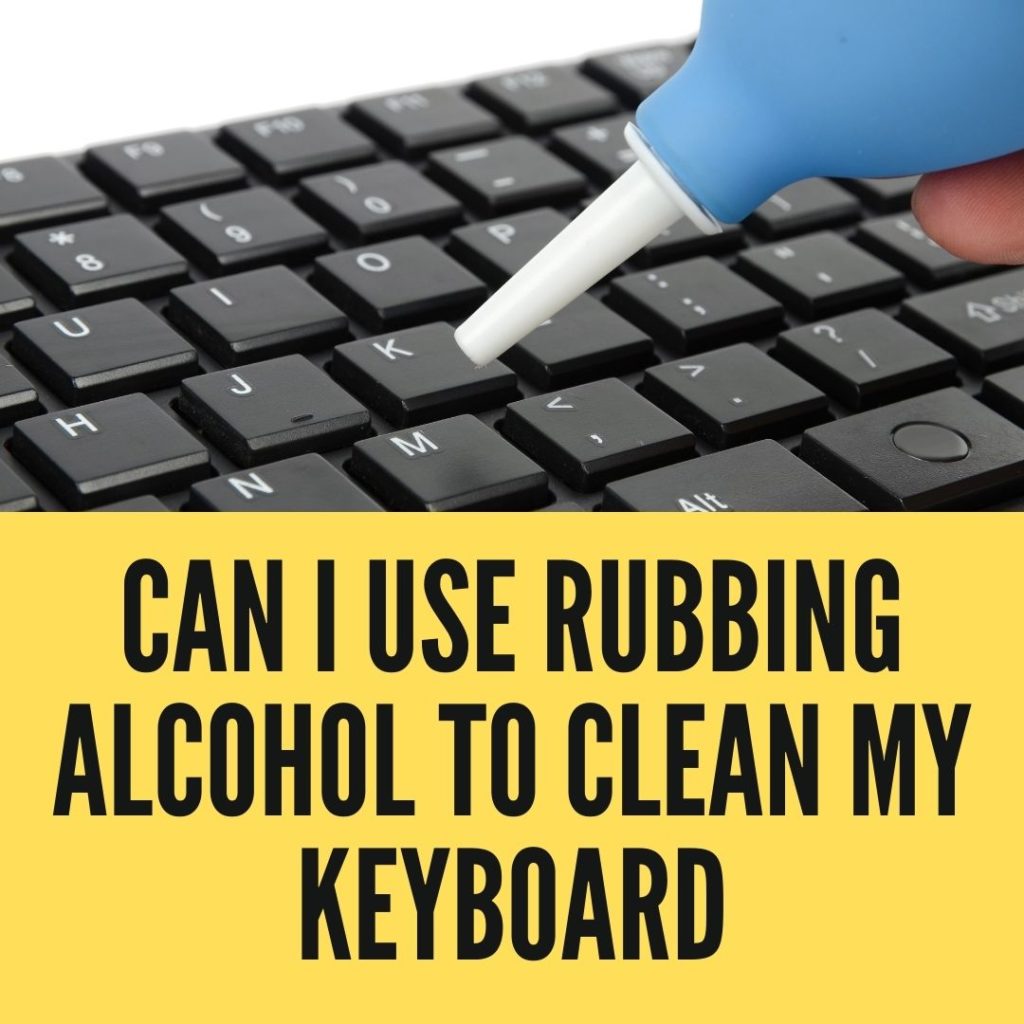
So can you use rubbing alcohol to clean your keyboard? Rubbing alcohol can be safely used to clean your keyboard because it’s the safest cleaning agent available for use on electronics. Rubbing alcohol evaporates far quicker than water, which is why it is better than cleaning your keyboard with soap and water.
You might think that somebody who spends as much time behind a computer screen as I do would have a spotless device and keyboard, but this is far from the truth.
I’m just as guilty of eating and drinking while I write, and sometimes, I look down at my keyboard in absolute disgust.
Thankfully, I have an easy trick up my sleeve whenever I do need to clean my keyboard!
Whenever I notice oil, grime, or crumbs building up on my keys and around my keyboard, I usually take it as my cue to break out the rubbing alcohol and get to cleaning.
It’s mostly safe to use on electronics, cheap, and I can find it at almost any store.
In today’s article, I’m going to show you exactly how to clean your desktop or laptop keyboard using nothing more than a couple of cotton swabs, a toothbrush, some compressed air, and a trusty bottle of rubbing alcohol.
I’ll also go over some of the common safety concerns to keep in mind while using rubbing alcohol to clean your electronics, so make sure you take some notes!
Is Rubbing Alcohol Safe To Use On My Computer Keyboard?
So many computer geeks swear by rubbing alcohol because it’s probably the safest cleaning agent available for use on electronics. Electronics are very susceptible to fluids.
If you’ve ever had the misfortune of spilling a drink on your keyboard, then you know all about this.
Some computer techs prefer to use a bit of Dawn soap and warm water. I’ve used this method before, but personally, I found that the soap can leave behind some unwanted residue.
The one time I did try it, I ended up having to wipe everything down with alcohol anyway just to remove the film left by the soap.
Perhaps I just used too much soap, but regardless- since then, I’ve stuck to rubbing alcohol.
It’s safe, fast, and I’ve never run into any problems with it before. When I find something good, I generally tend to stick with it.
Here’s why rubbing alcohol is such a great cleaning agent for computer keyboards:
- It’s great at dissolving and removing oils (chips, dinner, etc.).
- It kills bacteria and disinfects the surface (very important with COVID going on).
- It evaporates very quickly (you might not even have to dry it).
Alcohol evaporates far quicker than water, which is why I far prefer it over the soap and water method.
In most cases, the alcohol has already evaporated from one side of the keyboard by the time I make my way to the other side of the keyboard. The less time that my keys spend being exposed to liquids, the better.
Since COVID-19, I’ve also paid extra attention to my keyboard to ensure it’s disinfected.
I couldn’t imagine a more shameful way of getting hospitalized than by my own computer.
Basic store-bought isopropyl rubbing alcohol is the perfect solution!
Here are some other posts that might interest you:
- Can Rubbing Alcohol Kill Mold?
- Will Rubbing Alcohol Remove Acrylic Paint?
- Alternatives To Rubbing Alcohol
- Using Rubbing Alcohol To Clean Leather
- Can Rubbing Alcohol Be Used On Car Paint?
What Concentration of Rubbing Alcohol Should I Use?
In my experience, you don’t want to use rubbing alcohol that’s too concentrated.
While it does evaporate faster, it can also have the unwanted side effect of dissolving the paint and icons on my keyboard.
Trying to repaint and replace these is a major pain in the backside.
I usually recommend using a 50% dilution. This is easy to find in most stores on the medical/first aid aisle.
If you can’t find the 50% solution and have to use a 70% or 90% solution, you should dilute it down with a little bit of water in a container to weaken the concentration.
How To Clean Your Keyboard With Rubbing Alcohol
Now, for the part, you’ve all been waiting for how to clean your computer keyboard with rubbing alcohol.
Here’s the step-by-step guide, so you don’t mess up your expensive device and send me angry emails later on.
Step 1- Turn OFF Your Device
This is underlined because it’s the most important part!
Before using any liquid to clean your keyboard (even alcohol), make sure that you turn it off and unplug it.
This ensures no electrical current running through it could shock you or damage the keyboard or computer. If you’re cleaning a laptop, take the battery out as well.
Once you’re 100% sure there’s no power getting to your keyboard, you’re ready to start cleaning.
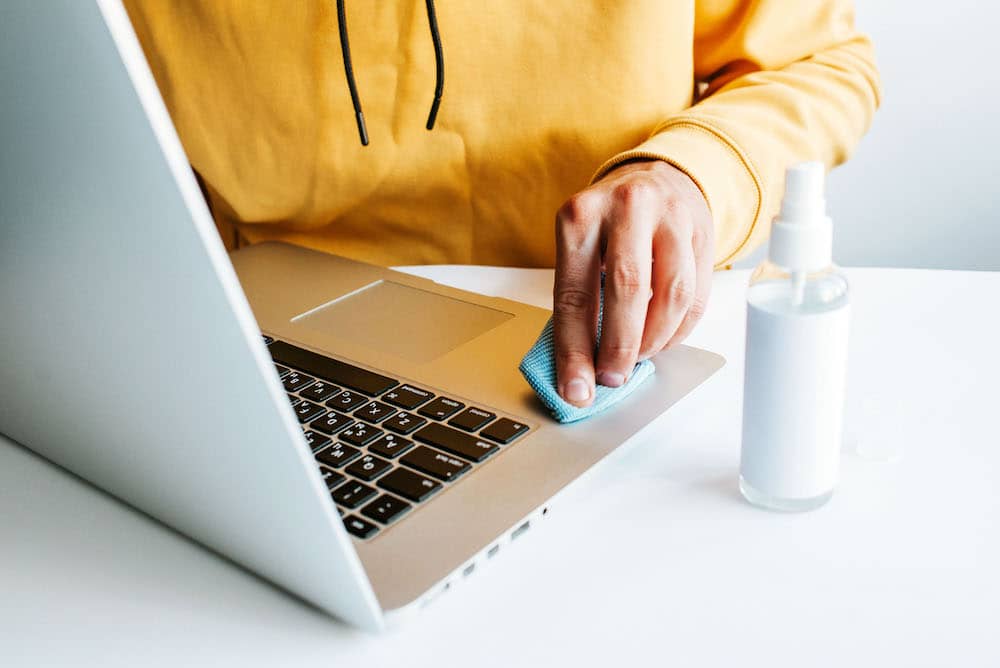
Step 2- Clean The Shell
Before gutting the keyboard, dampen a cotton ball or microfiber cloth with your diluted alcohol solution. Then, gently rub the surfaces surrounding your keyboard.
Once you’re done with that, lightly rub the cloth across each key, applying just enough pressure to remove dirt. You don’t want to jam the keys down under a lot of pressure.
This is also a great way to sanitize your keyboard daily without having to take your whole keyboard apart.
Step 3- Clean The Individual Keys
If you’re doing a full deep clean, you’ll want to remove the keys. Always double-check with the manufacturer to see how to remove the keys.
However, most keys can be removed by using a plastic wedge such as a trim removal tool or a small flathead screwdriver. Just don’t put so much pressure that you damage it.
As you remove the keys, set them on a clean surface in the same exact order they are on the keyboard. Nothing’s worse than misplacing keys and continuously pressing the wrong button (trust me on this).
Once you’ve removed the keys, dip a small toothbrush in the alcohol, and scrub the underside of them to remove any extra dirt and debris. When they’re clean, set them back in their position on a clean surface.
Step 4- Clean Under The Keys
Before putting your keys back on, you’ll want to take advantage that they’re off and clean the board under your keys.
First, blow the entire area out with your compressed air to get rid of any crumbs or dust. Don’t hold the can too close to the surface, or it might leave a frozen residue.
After blowing out the dust, take your alcohol-dipped brush or cotton swab and gently swab over all of the nooks and crannies. Then, give it a few minutes to dry.
Conclusion
Once everything is dry, put the keys on one by one going from left to right, so you remember the exact order that they go in!
Double-check that everything is 100% dry, then plug your keyboard back into your PC or put the battery back in your laptop and turn it on again.
If you’ve followed all of the instructions, you’ll be good to go! Repeat Step 1 once or twice a week to keep the top of the keys clean and sanitary.

My name is Logan, and I’m a 36-year-old dad who owns a small pressure-washing company in the suburbs of Atlanta, Georgia. My main goal with rubbing-alcohol.com is to show you how versatile isopropyl rubbing alcohol can be! I hope. You find it useful.
We're an affiliate! We may earn a small commission when you make a purchase from product links at no additional cost to you!